EVIL ART
by Allen Bukoff
 
Sarcophagus "Bring me
the head
of Barbie!"
Revenge
of the Tar Pit
No Body Body Parts Rack     


Evil Art for sale
online at
click to visit


No Body
(can do the shing-aling like I do)
No Body (2008). Sixteen inches tall on a 3 1/2 inch by 3 1/2 inch by 6 inch pedestal. Wooden block, rusted sheets of steel, nails, wire, body parts from toy action figure.
 
Object tag
Object comes with special tag: a 2 x 3 inch titled photo sewn on to piece of rubber Halloween mask.


"Bring me the head of Barbie!"
"Bring me the head of Barbie!" (2008). Fourteen inches tall on a 3 1/2 inch by 3 1/2 inch by 11 1/2 inch pedestal. Wooden block, rusted sheets of steel, nails, wire, parts from doll and toy action figure.
 
Object tag
Object comes with special tag: a 2 x 3 inch titled photo sewn on to piece of rubber Halloween mask.


Sarcophagus
Sarcophagus (2009). Twelve inches long, 3 3/4 inches wide, and 5 1/2 inches tall. Wooden block, rusted sheets of steel, nails, toy action figure, sticks, and asphalt roofing cement.
 
Object tag
Object comes with special tag: a 2 x 3 inch titled photo sewn on to piece of rubber Halloween mask.


Revenge of the Tar Pit
Revenge of the Tar Pit (2009). Five and one-quarter inches tall on 8 inch square metal-covered wooden block. Wooden block, rusted sheets of steel, nails, toy action figure, and asphalt roofing cement.
 
Object tag
Object comes with special tag: a 2 x 3 inch titled photo sewn on to piece of rubber Halloween mask.


Body Parts Rack

Body Parts Rack (2009). Eight inches tall on 11 3/8 inches long by 5 7/8 inches square wooden block. Wooden block, old painted peg board, nails, screws, rusted steel, red nail polish, and toy action-figure parts.
 
Object tag
Object comes with special tag: a 2 x 3 inch titled photo sewn on to piece of rubber Halloween mask.


Making them
1. Use tin snips to cut thin sheets of plated or galvanized steel (e.g., from coffee cans). 2. Flatten, place sheets in plastic tub, and cover with muriatic acid--do this outside and avoid fumes. 3. Dump acid and hose off steel sheets. 4. Leave sheets to dry (hint: letting them dry on the grass can etch grass blade patterns in the rust). 5. Find suitable Barbie or GI-Joe figures. 6. Cut off necessary parts. 7. Fasten parts together and to block using wire, screws, etc.
    For (a) I drilled a hole in top of wood block pedestal and added a bundle of rusting wires. Then I wrapped doll arms and legs and head in wire "cage" and attached these parts to the various wires in the center bundle.
    For (b) I drilled holes and used screws to fasten arms from action figure onto top of wood block pedestal. Used nail spike to make two "burst" holes in a sheet of rusting steel, slipped the sheet over the hands and arms, and then nailed steel sheet down to the pedestal. Wrapped doll head in wire cage and then wired this to the hands of the action figure.
8. Cover top and sides of wood block pedestals with various pieces of rusted steel cut into irregular shapes. Hammer and nail to block to give "riveted" appearance. 9. Add titles and signature to bottom of pedestal with paint pen.


Backstory

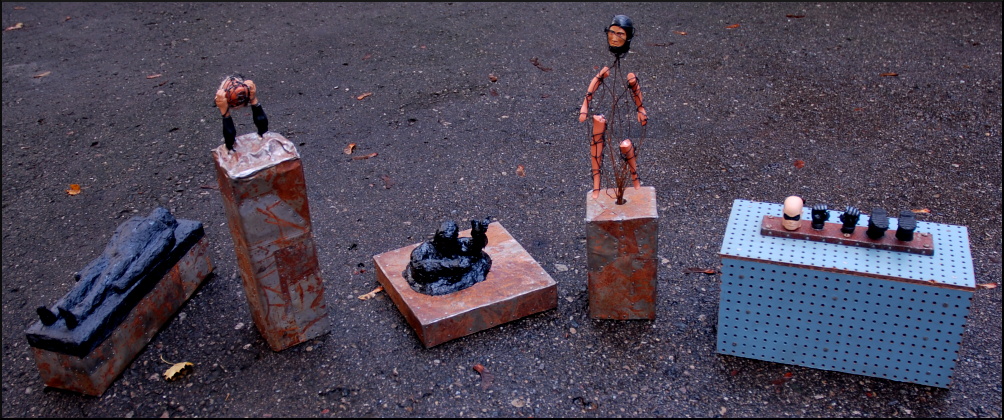
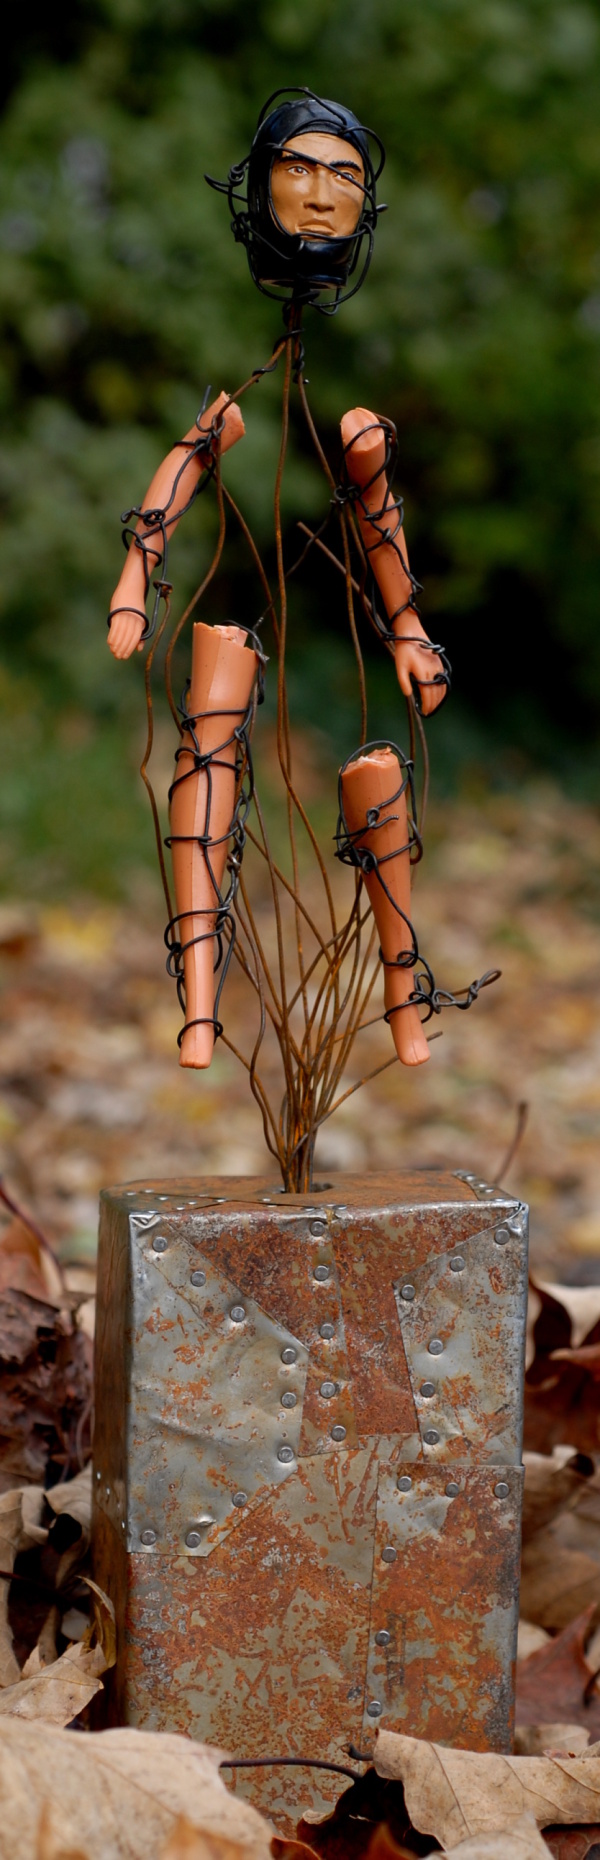
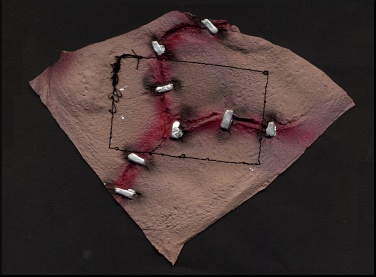
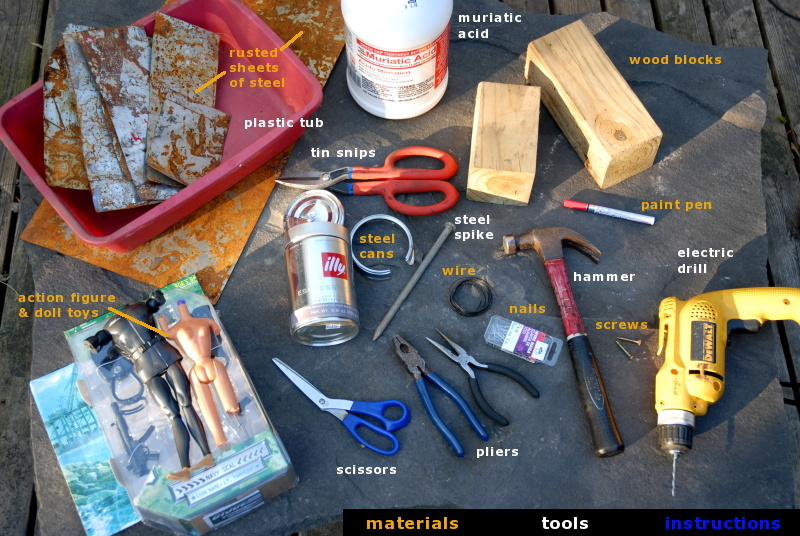
I have a box where I collect the cut-off and scrap pieces of wire from my various projects. Sometime in early September I picked out about a dozen of the longer pieces (from 5-10 inches in length) and wrapped them with another wire to create a bundle. They looked like flower stems to me. This gave me the idea to make a wire bouquet for Janice for her upcoming birthday. I was thinking about what I could use for a vase when I spied a pile of my wood block scraps left over from my trellis project earlier in the summer. I picked up one of the shorter blocks (about 6 inches in length and 3.5 x 3.5 inches square), found my electric drill and drilled a 1/2-inch hole in the center of the top. I adjusted the wire bundle so it fit snuggly in this whole and I spread the wires out like stems of a bouquet. My idea at this point was to attach the ends of the wires to a variety of different objects such as a button, a jingle bell, a metal washer, etc., to create an abstract flower bouquet. I hid the block and wires under a nearby bush (so project would be a suprise for Janice) and let it sit outside to rust for several weeks.

By the time Janice's birthday (October 4) came, I hadn't done anything more but still intended to do something with it. Halloween was coming and I got the idea to attach doll parts (e.g., heads, arms, legs) to the ends of the wire and make a "bouquet" of doll parts. Thirty years ago I had used parts of my sisters' dolls in a variety of different art projects--and they have never completely forgiven me for this. I was thinking I would create a small sculpture using the cut-up pieces from a Barbie doll that someone had given me five or ten years ago (and which I'd kept thinking "I'd like to use that for something someday"). Using doll parts is still appealing to me and I knew they would be easy to wrap in wire into various arrangements. I know that using "decapitated doll parts" can be a cheap-trick way of provoking an emotional reaction (like the trap of defacing or defiling a respected religious or cultural icon to get a reaction), so I challenged myself to go past "cheap trick" to find something more interesting or arty.

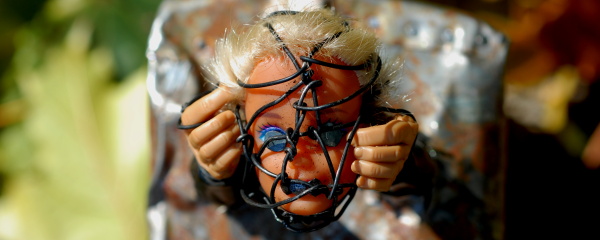
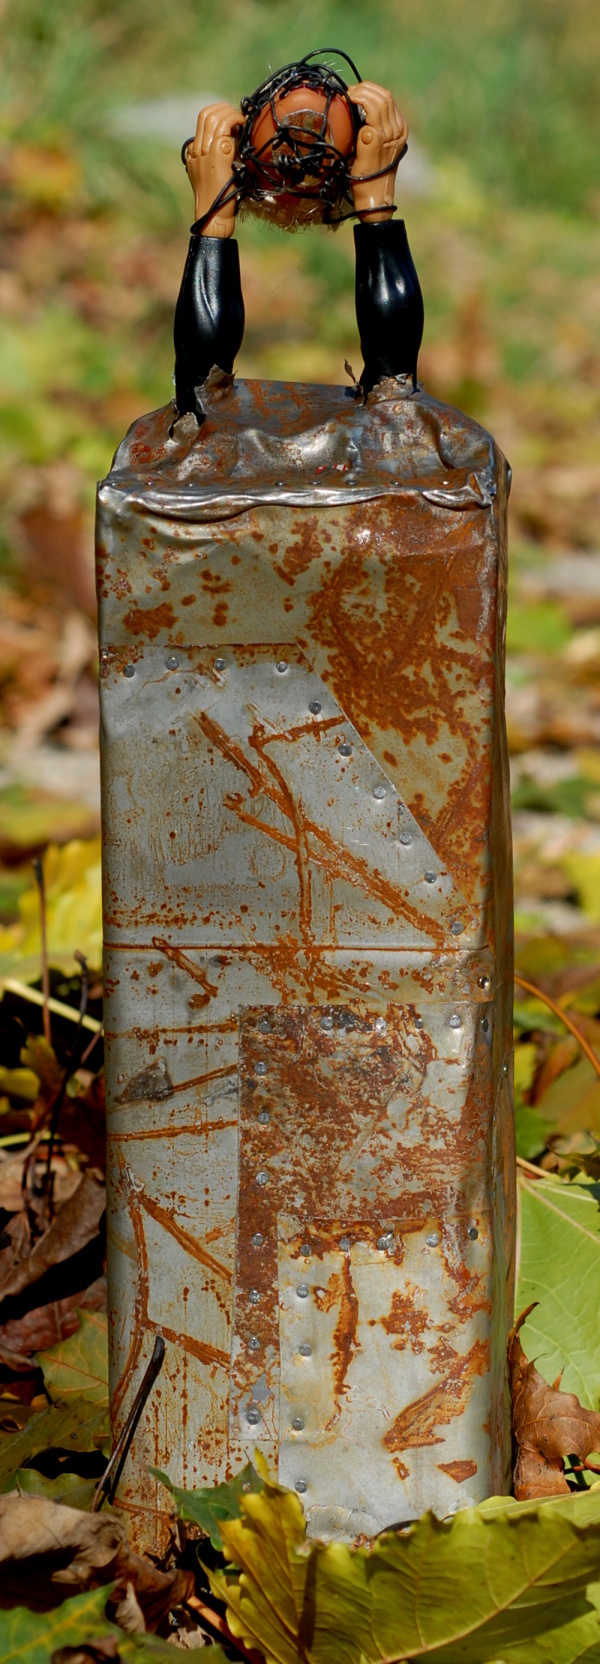
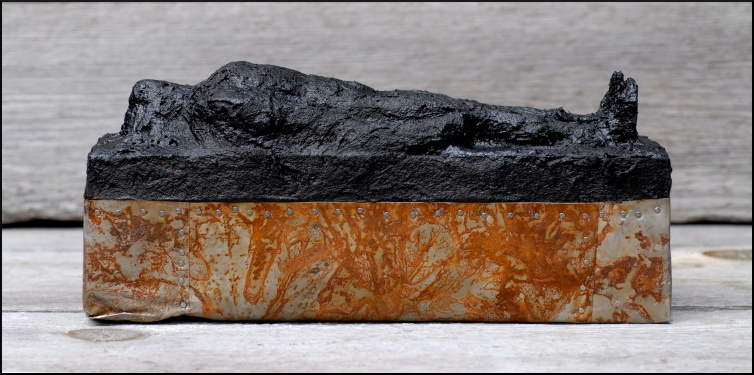
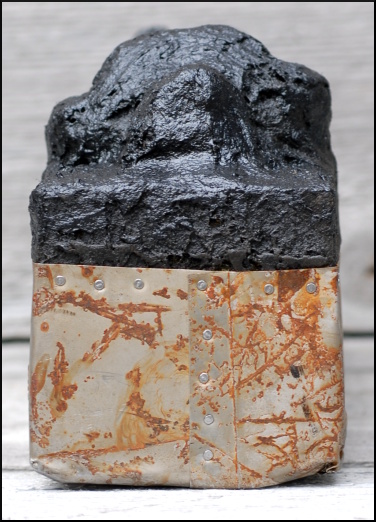
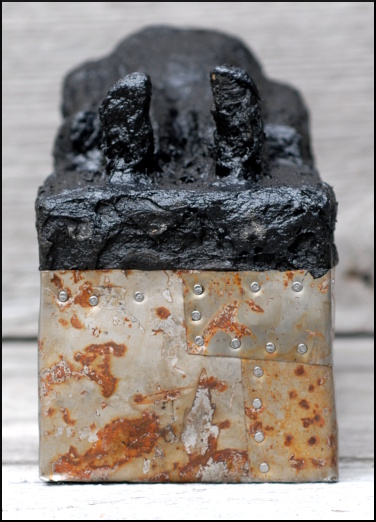
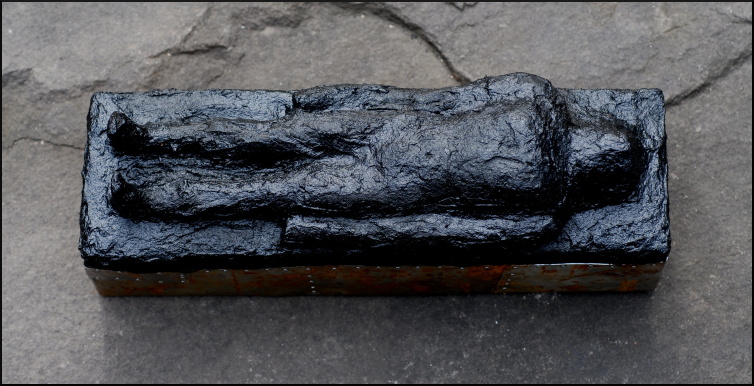
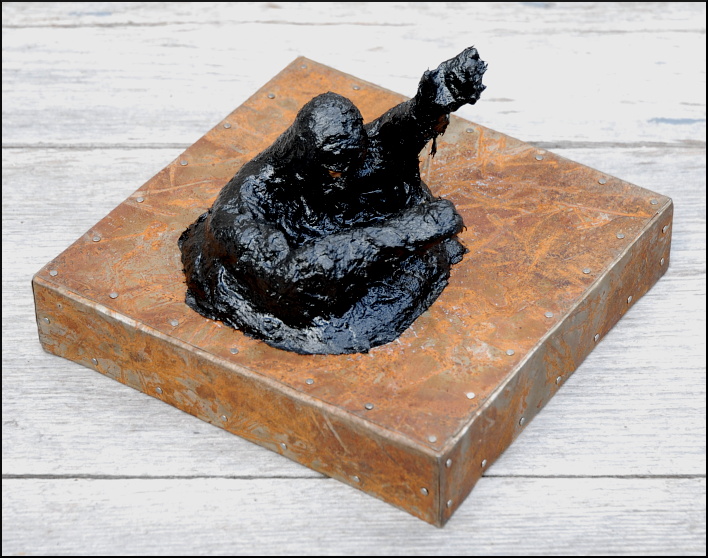
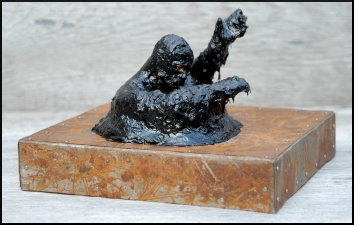
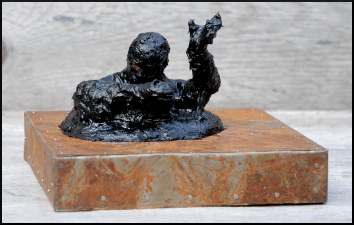
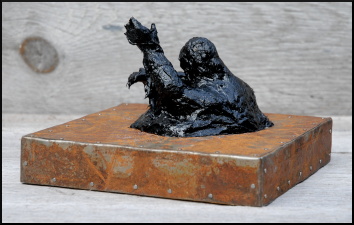
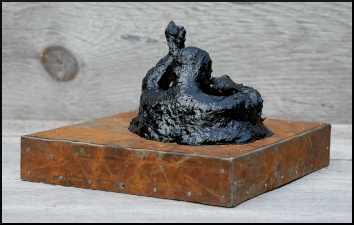
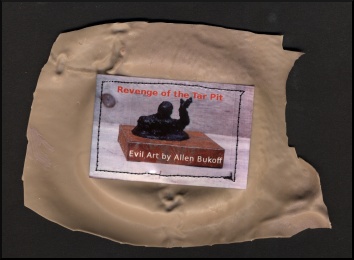
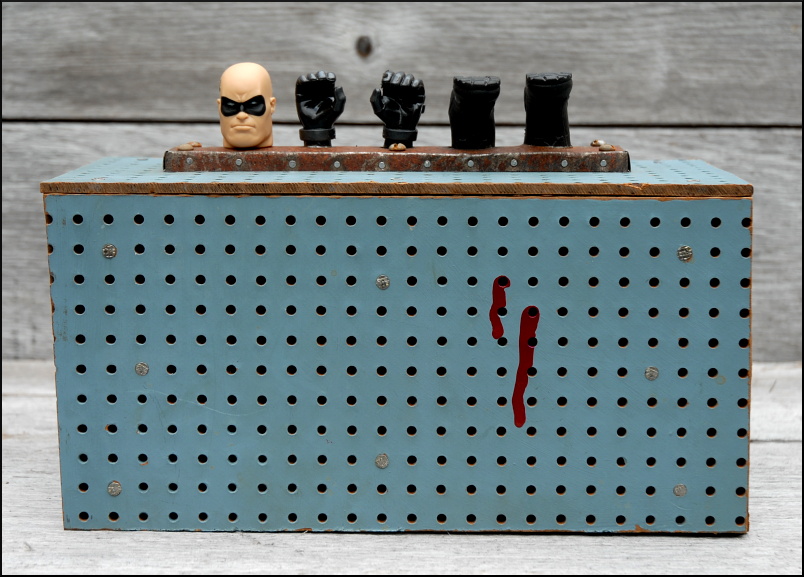
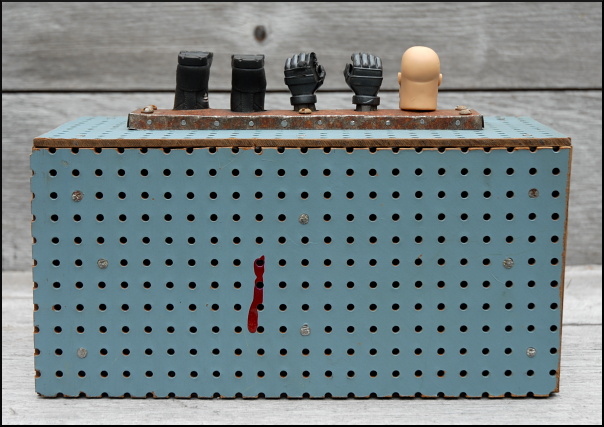
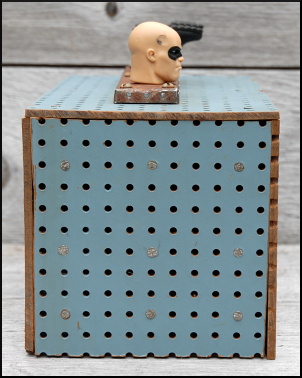
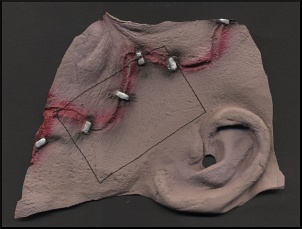
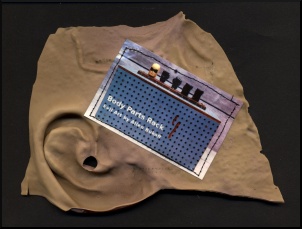
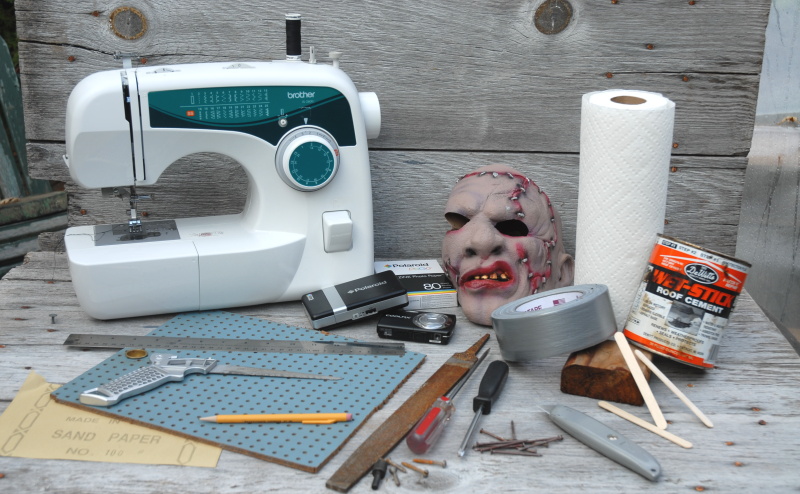
I wound up getting a GI-Joe figure (in scuba gear) and mixing and matching the parts from this and the Barbie doll to make two different Halloween sculptures. In the first sculpture--the original wire bouquet--I wound up arranging the arms, legs and heads in their typical positions. I decided this had a subtler and eerier effect than just creating a 3-D collage of decapitated doll parts. More odd and weird than anything blatantly violent. For the second sculpture I wanted to use the Barbie head, got the idea to have it being held aloft by two arms, and got the idea to make the two arms look like they were busting out of a metal container or coffin. I originally resisted blooding up Barbie's head or deforming her face, but her perky smiling visage--even with her hair chopped up--kept the piece from looking or feeling sinister. So I got sinister by pushing small nails into her eyes and mouth.

I now have ideas for several more Halloween sculptures, which I hope to pursue for next year's Halloween.


Evil Art for sale
online at
click to visit


This is stuff from WorkingCreativity.com


Creative Commons Licenseall text and images on this page by Allen Bukoff are licensed under a
Creative Commons Attribution 3.0 United States License
.